Mannequin FAQs: Common Questions and Helpful Answers
Mannequin Mode on 9th Nov 2025
We’ve been in the mannequin game since 2008, and trust us—we’ve heard it all. From quirky curiosities to practical concerns, here’s our roundup of the most-asked questions (and our best answers).
What Are Mannequins Typically Made From?
Mannequins and their components are typically crafted from fiberglass, plastic, or wood. Fiberglass offers a strong yet lightweight option, while plastic is a more affordable alternative. Each material impacts the mannequin’s durability, weight, and overall feel.
What’s the Real Difference Between Realistic and Abstract Mannequins?
Realistic mannequins look, well—real! They have facial features, lashes, and skin tones that mimic real people, and they’re usually bald so you can add wigs. Abstract mannequins skip the details and keep things sleek and simple, highlighting the overall shape instead.
Dust, Smudges & Shine: How to Clean Your Mannequin Like a Pro?
Our top cleaning pick? Mr. Clean Magic Eraser—it’s great at lifting marks and dirt. A soft cloth is perfect for regular dusting, and if you run into stubborn stains, a little mild soap and water should do the trick.
What Should I Do If My Mannequin Gets Chipped or Cracked?
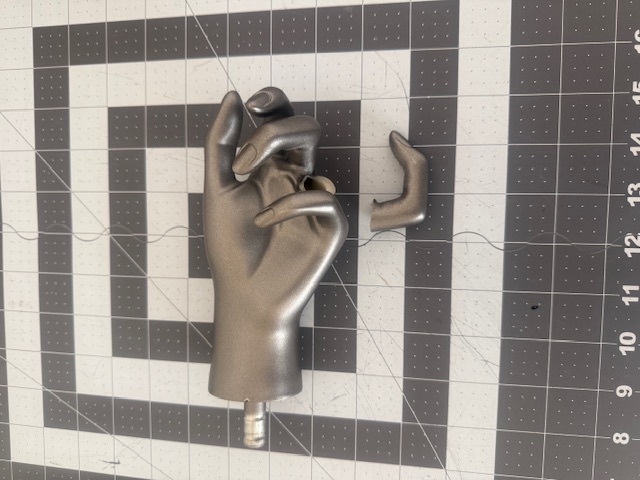
Got a chipped or cracked mannequin? Epoxy resin or a fiberglass kit can do the trick—just sand and paint afterward to blend the finish. We’ve rounded up some helpful tutorials and repair resources. If it’s a bigger fix, you might want to check out the refurbishing companies we’ve listed too.
How Can Mannequins Be Upcycled or Reused?
Common repurposing ideas include converting mannequins into planters, decorative lamps, artistic installations, or festive Dress Form Christmas trees.
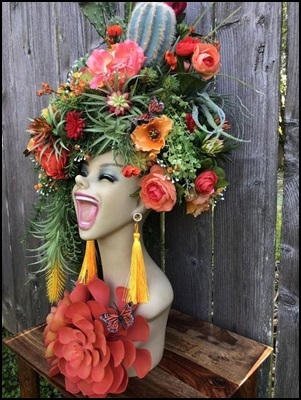
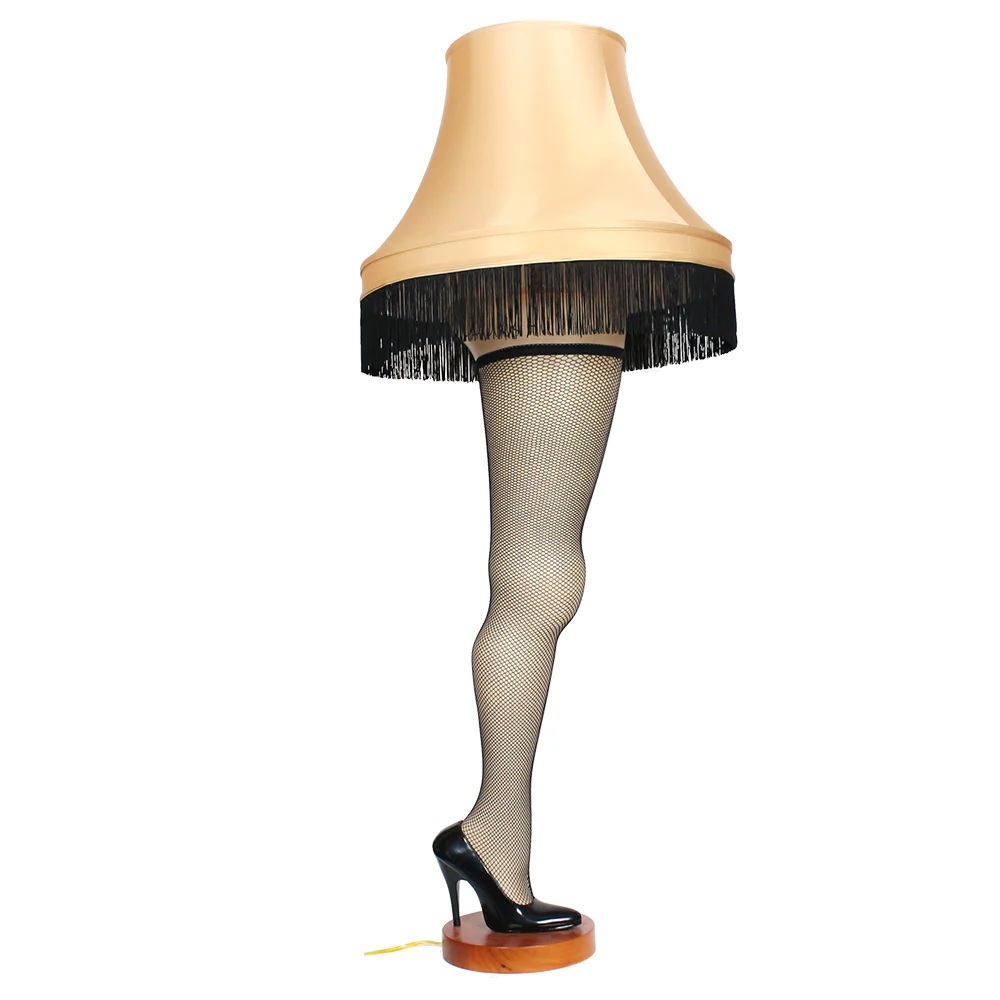
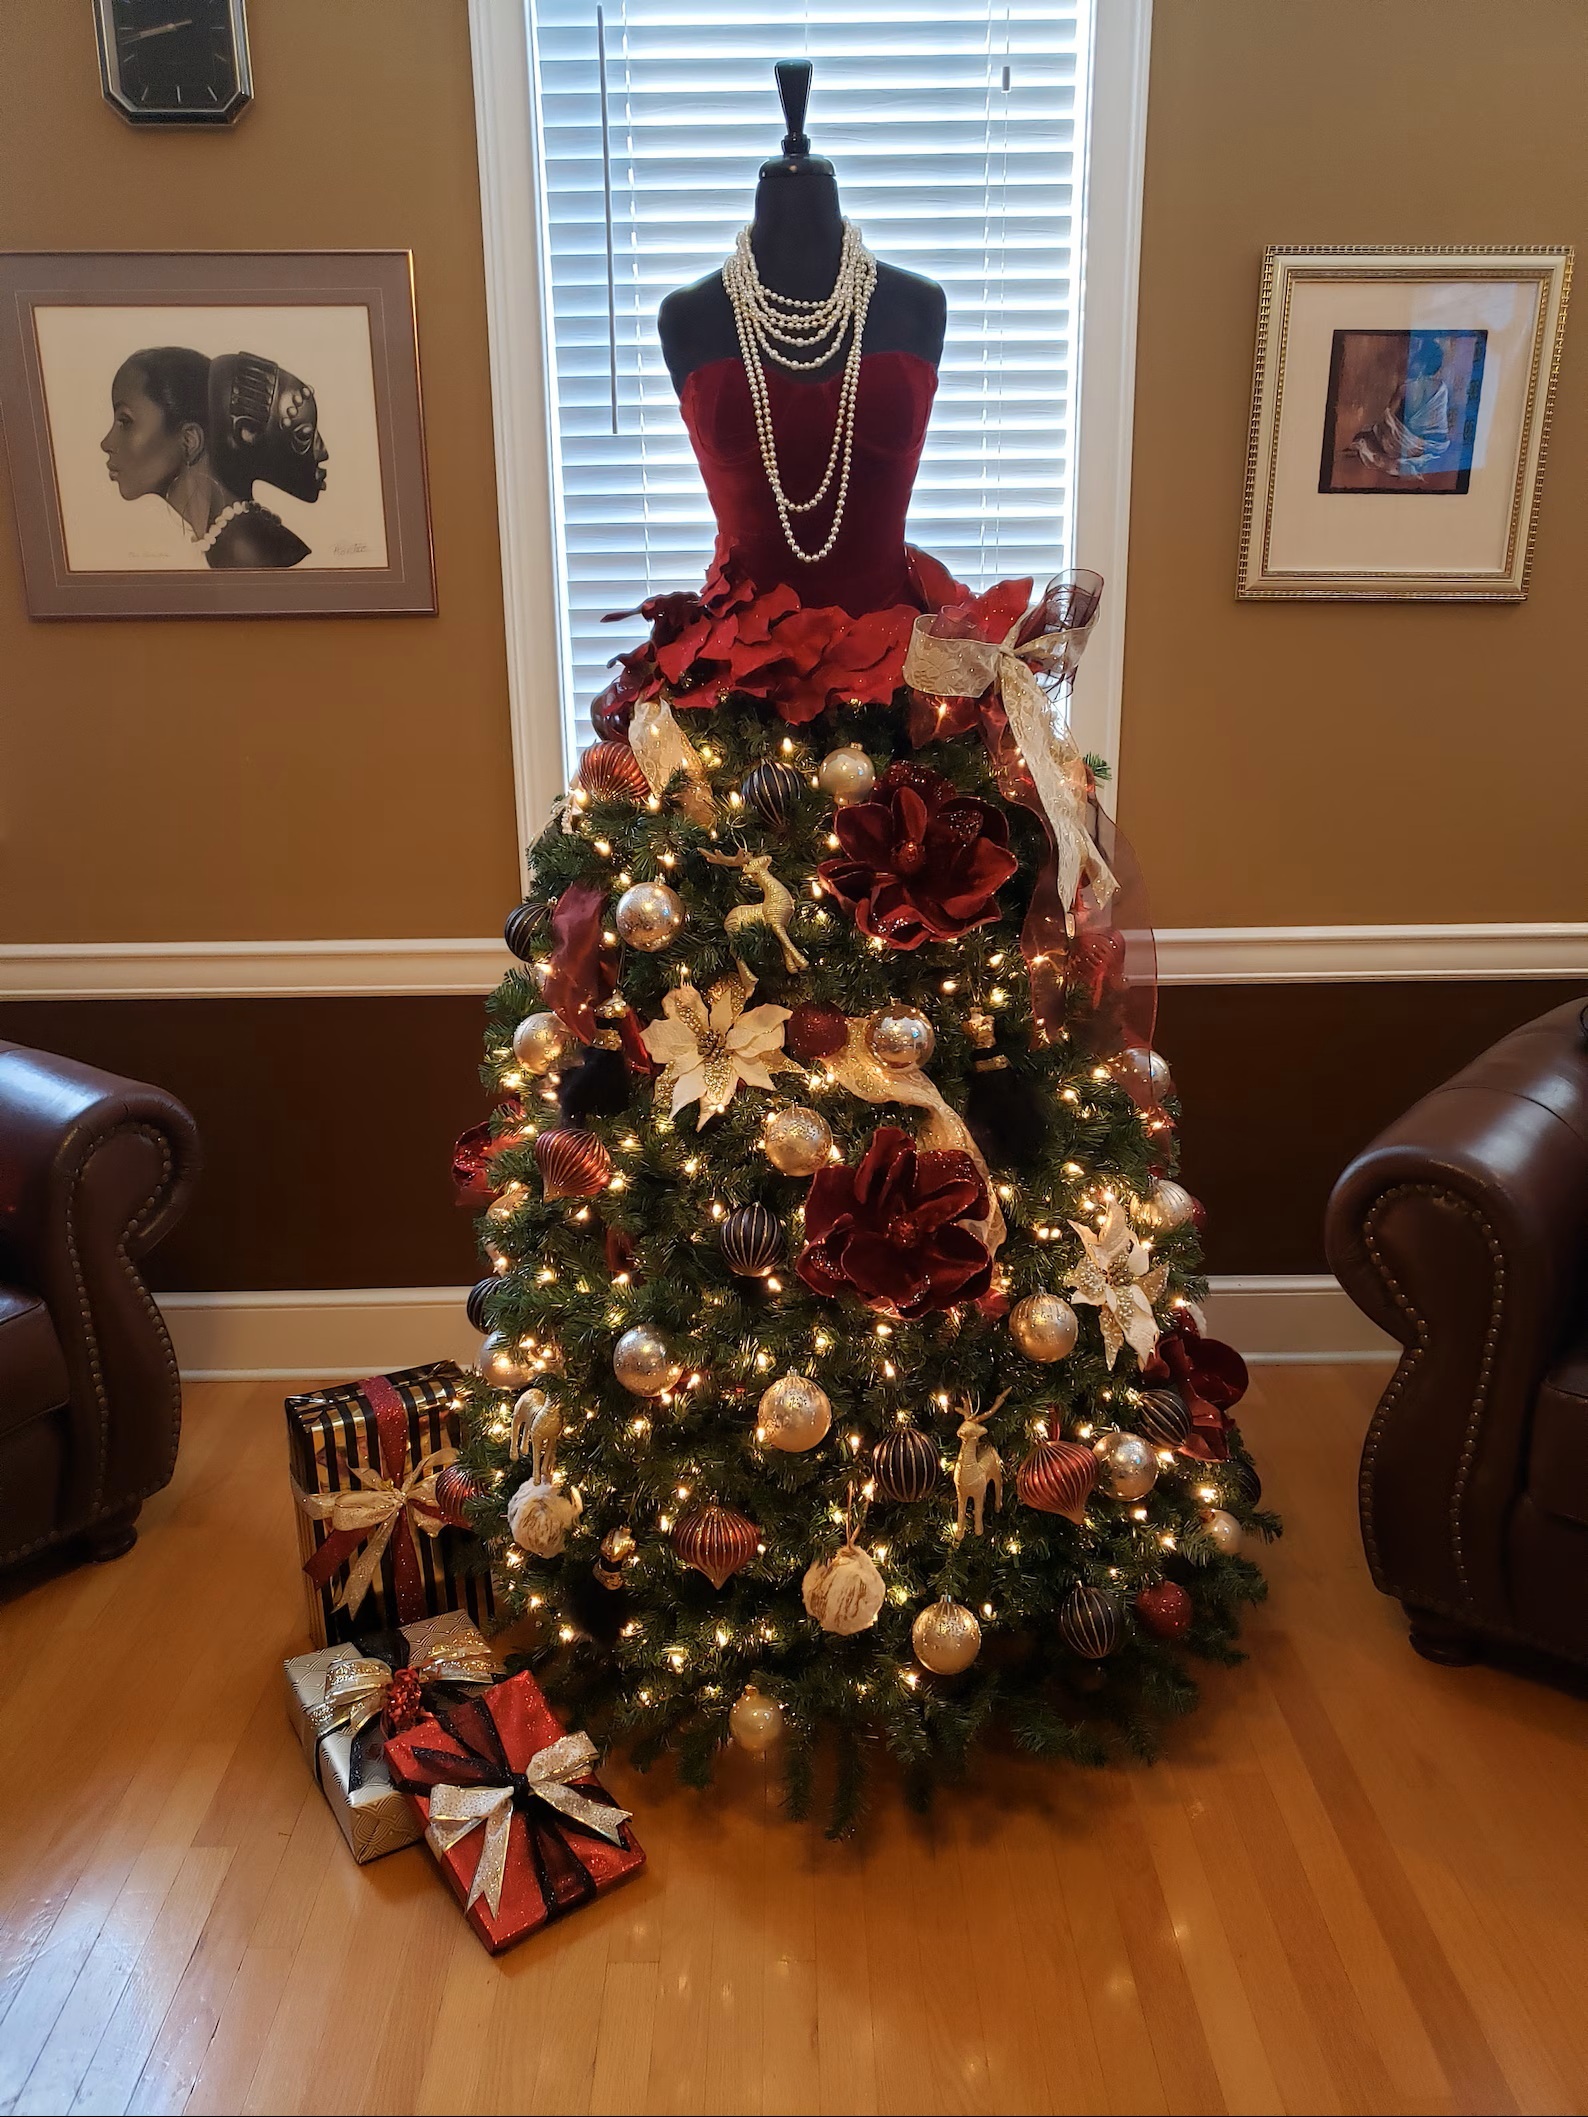
Can Mannequins Be Rented Instead of Purchased?
Yes, mannequin rentals are a budget-friendly option for short-term needs like events, pop-ups, or photo shoots. You can find a list of rental providers in the United States.
ARIZONA
CALIFORNIA
Los Angeles: OhMannequins.com
FLORIDA
GEORGIA
Atlanta: mannequinmode.com
ILLINOIS
Chicago: DoubleRDisplays.com
MARYLAND
North Brentwood FixturesPlus.com
NEW YORK
New York City/New Jersey: FrankGloverProductions.com
New York: NYC City Display Inc.
New York: Rent a Form
TEXAS
Houston: ModernMannequin.com
UTAH Mannequin Rental Co
What’s the best way to keep mannequins stable and upright?
Ensure mannequin stability by using a sturdy base, adding weight with sandbags or heavy objects, and securing the figure to a wall or fixed structure. Position legs flat on the floor and place mannequins away from high-traffic zones to reduce tipping risk.
How should I store my mannequins safely when they’re not on display?
For safe storage, disassemble mannequins and wrap each part in bubble wrap or acid-free paper. Store them in a clean, dry, and cool space away from direct sunlight. When possible, lay components flat on a cart or pallet to prevent pressure damage.
Mannequin vs. Manikin: What sets them apart?
The key difference between a mannequin and a manikin lies in their purpose and usage:
• Mannequins are stationary figures used in retail and fashion displays to showcase clothing, accessories, and styling. They come in various poses and sizes, often designed to enhance visual merchandising.
• Manikins are realistic anatomical models used in medical and scientific training, such as CPR practice, surgical simulations, and emergency response drills. These models are built for functionality and lifelike interaction.
If you're working in fashion or retail, choose a mannequin. For healthcare education or simulation, opt for a manikin.
How can I find out what my vintage mannequin is worth?
To determine the value of your vintage mannequin, start by identifying its brand, condition, and pose. Compare it to similar mannequins recently sold on platforms like eBay or Etsy. For expert insights, share photos in vintage mannequin collector groups on Facebook or consult a professional appraisal service.
How do I keep clothes from slipping off mannequins?
To keep clothing securely in place on a mannequin, try using pins, double-sided fashion tape, or a custom base layer with features like a drawstring or bra cups. Belts and other accessories can also help anchor garments. For best results, always dress your mannequin from the bottom up—this helps prevent shifting and keeps your display looking polished.
What Is a Ghost Mannequin and Why Do Online Shops Use It?
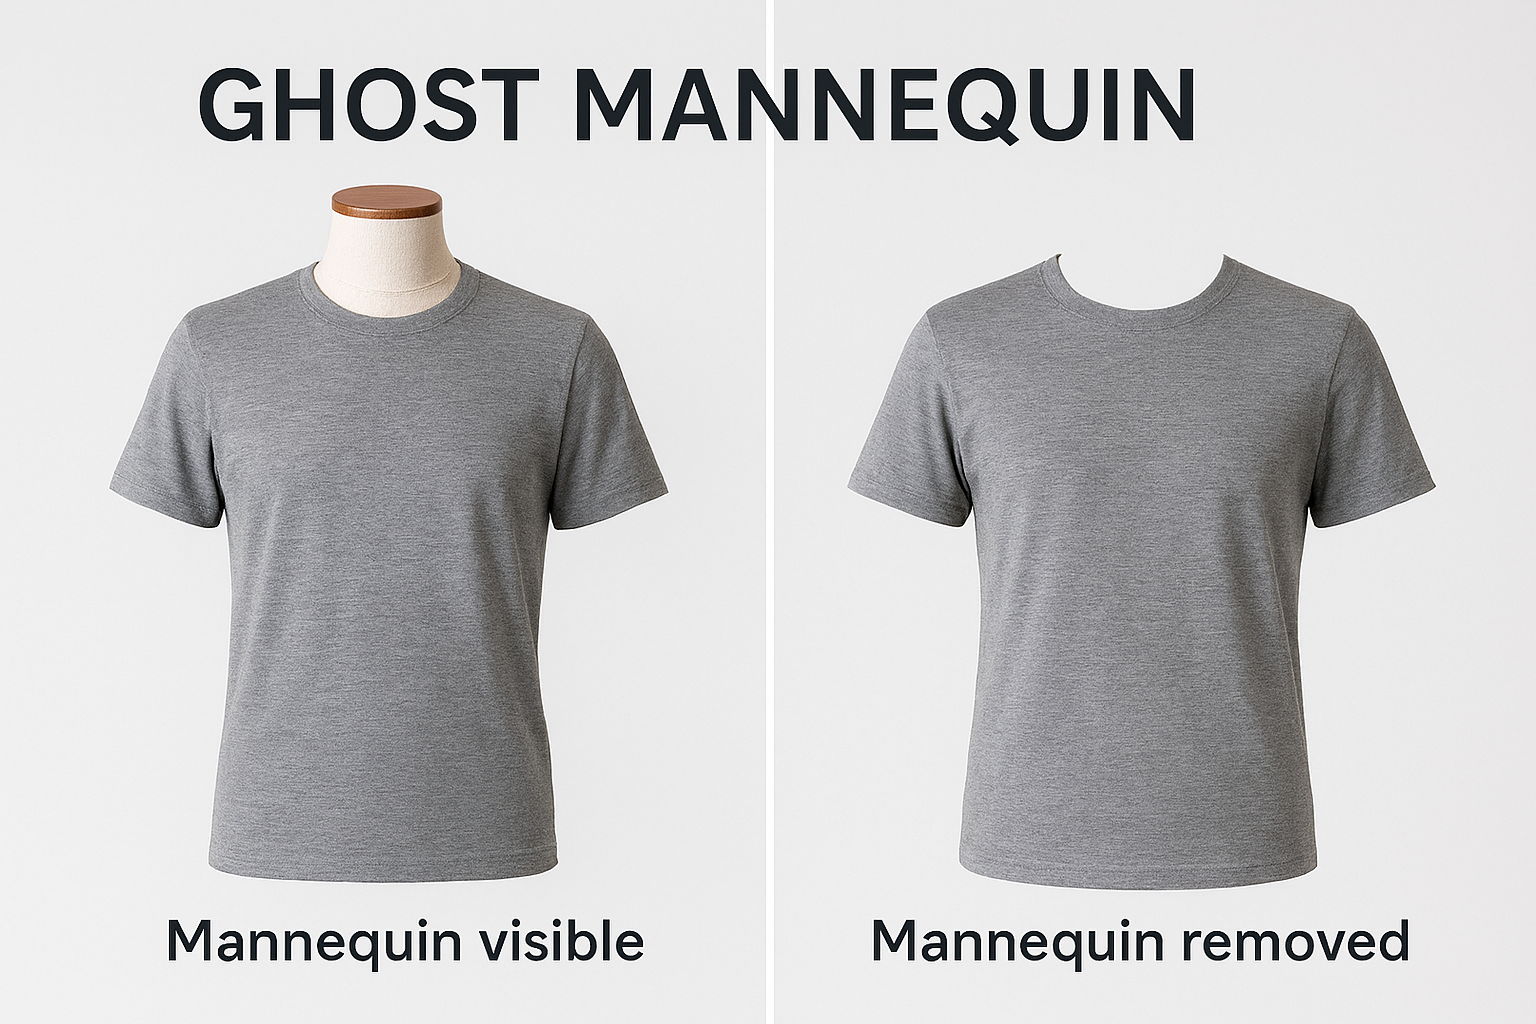
A ghost mannequin is a photography method that makes clothing look like it’s being worn—without showing a model or mannequin. First, the garment is photographed on a mannequin. Then, in editing, the mannequin is digitally removed to create a clean, 3D-like image. This technique helps shoppers see how the item fits and flows, making it easier to imagine wearing it. It’s a popular choice in online stores because it shows off the product’s shape and details better than flat lay photos.
Here’s a visual example of the ghost mannequin effect in action. It shows a side-by-side comparison of a garment photographed on a mannequin and the same image after the mannequin has been digitally removed to create that clean, floating look. Perfect for illustrating how this technique brings out the shape and drape of clothing in product photography.
Flexible Mannequins Explained: What They Are and How They’re Used
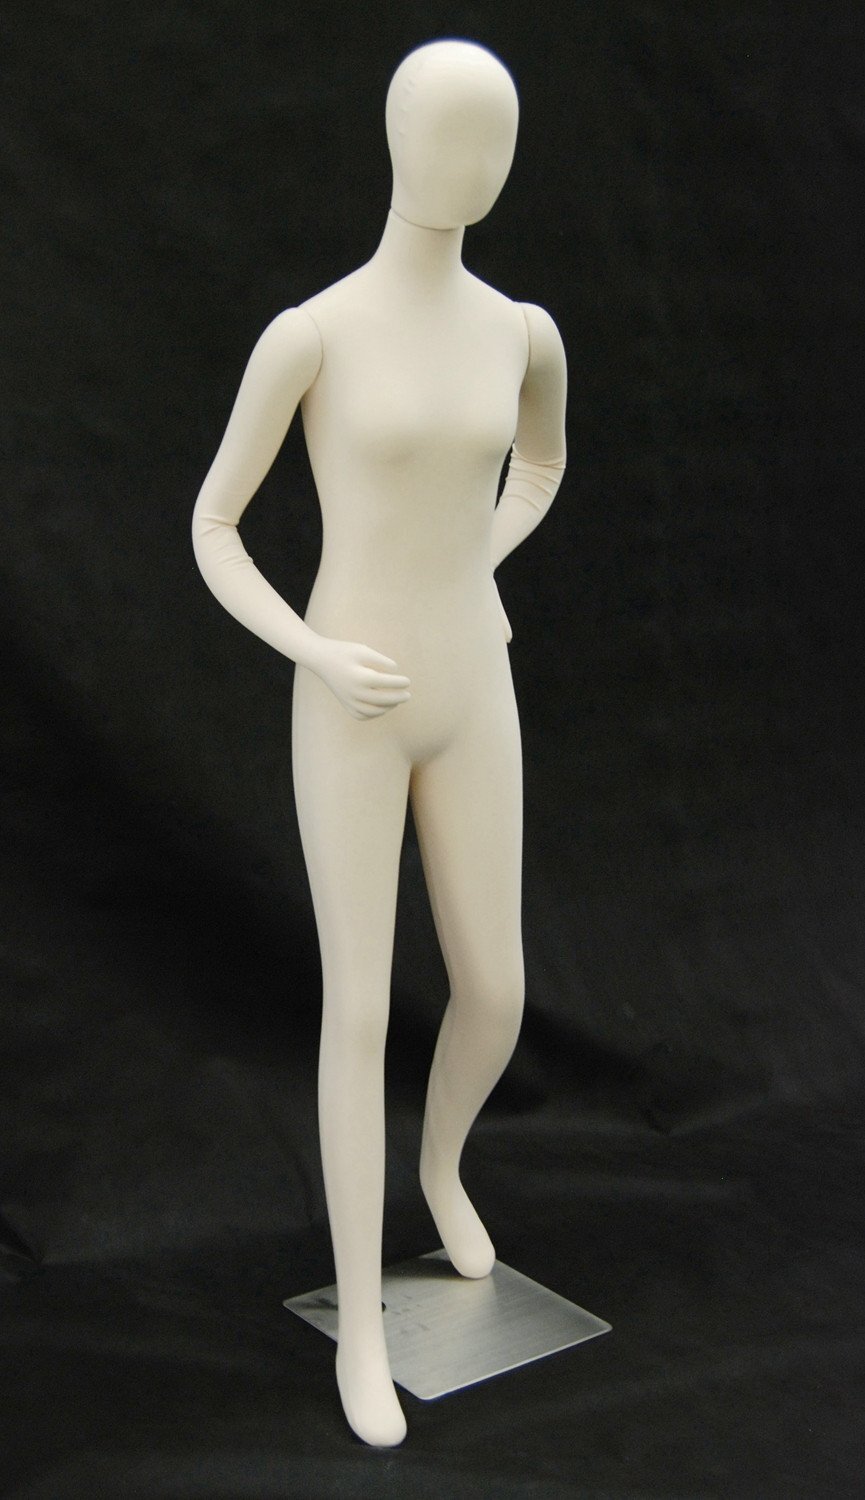
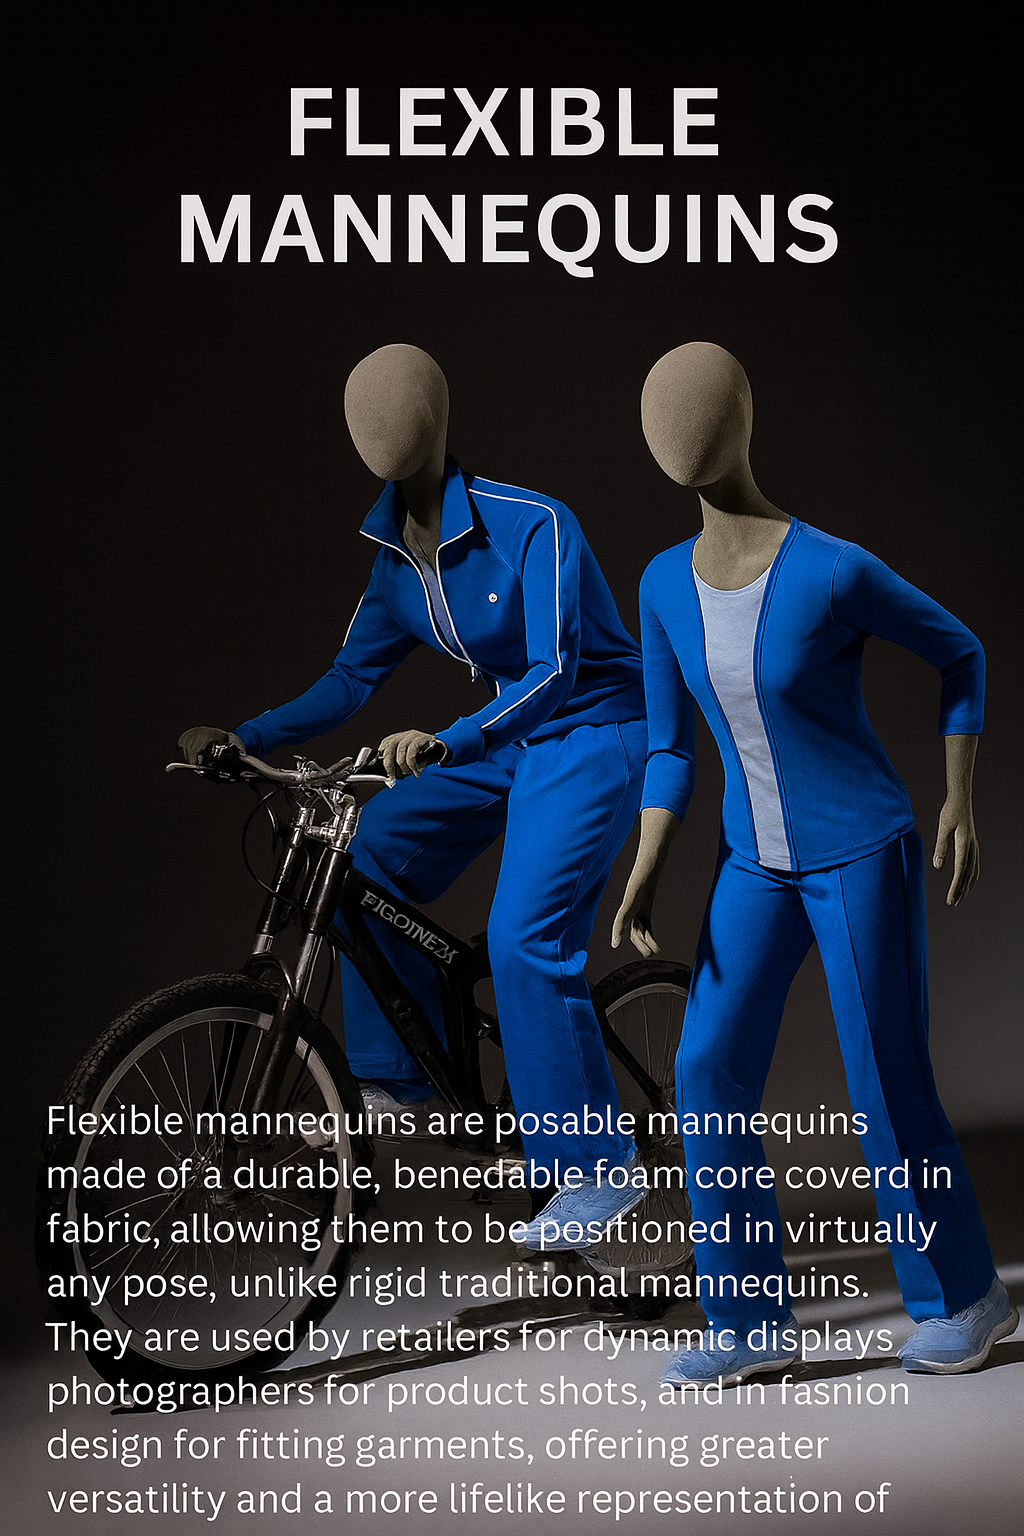
Flexible mannequins are highly posable display forms made with a bendable foam core and fabric covering, allowing them to be shaped into a wide range of natural poses. Unlike rigid traditional mannequins, these versatile models can be adjusted to suit dynamic retail displays, creative product photography, or garment fitting in fashion design. Their lifelike flexibility helps showcase clothing in a more realistic and visually compelling way.
How to Find a Dress Form That Matches Your Exact Measurements?
If you're just starting out and want a dress form that matches your body, begin by taking careful measurements of your bust, waist, hips, and other key areas. Then, choose an adjustable dress form that’s a little smaller than your largest measurement. You can add padding with fabric or foam to shape it to your size—this gives you a custom fit that makes sewing and fitting clothes much easier and more accurate. You can purchase a set of fitting pads to fill out areas (bust, waist, hips) that need adjusting.
How to Create a Custom-Fit Dress Form: A Beginner’s Guide
Whether you're sewing for yourself or designing garments for others, having a dress form that matches your body can make a world of difference. Here’s how to create a custom-fit version using an adjustable form and a few simple tools.
Step 1: Take Accurate Body Measurements
Start by measuring key areas of your body:
-
Bust: Around the fullest part
-
Waist: At the narrowest point
-
Hips: Around the widest part
-
Shoulders, back length, and torso: Optional but helpful for precision
-
Use a soft measuring tape and write down each measurement clearly.
Step 2: Choose an Adjustable Dress Form
Look for a form that:
-
Has dials or sliders to adjust bust, waist, and hip sizes
-
Is slightly smaller than your largest measurement
This gives you room to pad the form to match your exact shape.
Step 3: Gather Padding Materials
You’ll need:
-
Foam sheets or batting
-
Fabric scraps or stretch knit
-
Pins or tape
-
Optional: a fitted tank top or cover to smooth everything out once padded.
Step 4: Pad the Form to Match Your Measurements
Start with the bust, then move to the waist and hips:
-
Add layers of foam or batting until each area matches your measurement
-
Use pins or tape to secure padding
-
Smooth out lumps with fabric scraps or a stretchy cover
Check measurements as you go to ensure accuracy.
Step 5: Test the Fit
Drape a garment or muslin over your padded form:
-
Does it sit naturally?
-
Are seams and darts aligning properly?
-
Adjust padding if needed for better accuracy
Step 6: Final Touches
Once you’re happy with the shape:
-
Cover the form with a fitted stretch fabric or tank top
-
Mark key points like bust apex, waistline, and hip level
Now you’ve got a personalized tool that makes fitting and designing so much easier!